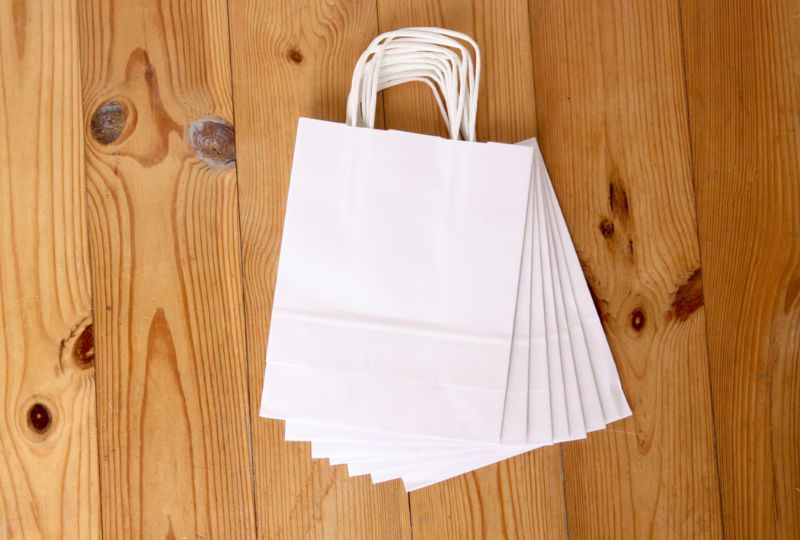
In today’s world of gift-giving, presentation matters as much as the gift itself. A beautifully wrapped gift can express thoughtfulness and care, adding a personal touch to any occasion. While store-bought gift bags are convenient, making your own small white paper bags at home can be a rewarding and eco-friendly alternative. In this article, we’ll explore how to create charming small white paper bags for gifts right in the comfort of your home.
Table of Contents
ToggleStep By Step Guide For Making Small White Paper Bags For Gifts At Home
Materials Needed:

To embark on this DIY project, you’ll need a few basic materials that are readily available at craft stores or even in your own home:
- White Craft Paper: Opt for sturdy white craft paper or cardstock to ensure durability.
- Scissors: A sharp pair of scissors will make cutting the paper easier and more precise.
- Ruler: A ruler will help you measure and create straight lines for folding.
- Double-sided tape or Glue: This will be used to secure the edges of the paper bag.
- Decorative Elements (Optional): Get creative with ribbons, stickers, stamps, or markers to embellish your paper bags.
Step-by-Step Guide:

Now, let’s dive into the step-by-step process of making small white paper bags for gifts:
- Cutting the Paper: Begin by cutting a piece of white craft paper to your desired size. A typical size for small gift bags is around 8 inches in height and 6 inches in width. Adjust the dimensions according to your preferences and the size of the gift.
- Folding the Paper: Lay the white paper flat on your work surface. Use a ruler to create creases for folding. Please fold the paper in half lengthwise to create a centerline, then unfold it.
- Creating Flaps: Fold the top edges of the paper down towards the center crease, leaving about 1-2 inches of space between the top edge and the crease. These folded sections will form the flaps of the paper bag. You may also like to read What is The Meaning of Recycled Packaging?
- Securing the Sides: Apply double-sided tape or glue along the side edges of the paper. Then, please fold the paper along the center crease and press the sides together to secure them in place. Ensure that the bottom edge remains open.
- Forming the Bottom: To create the bottom of the bag, fold the bottom edge of the paper upwards, slightly overlapping the flaps. Press along the creases to create a crisp fold.
- Final Touches: Once the basic structure of the paper bag is formed, you can add decorative elements to personalize it further. Tie a ribbon around the top edge, attach stickers or stamps, or unleash your creativity with hand-drawn designs.
Read More: How To Make A Pizza Box in Just 4 Steps
Benefits of Making Your Paper Bags:

Creating small white paper bags for gifts at home offers several advantages:
- Cost-Effective: Homemade paper bags are often more cost-effective than store-bought ones, as you can use materials you already have on hand.
- Customization: DIY paper bags allow for endless customization options. You can choose the size, colour and design to suit the occasion and recipient.
- Eco-Friendly: By making your paper bags, you’re reducing the demand for commercially produced bags, which can contribute to environmental degradation. Opting for recyclable materials further minimizes your ecological footprint.
- Personal Touch: Handcrafted paper bags add a personal touch to your gifts, showcasing the time and effort you put into the presentation.
Conclusion:
Crafting small white paper bags for gifts at home is a creative and fulfilling endeavour that adds an extra layer of thoughtfulness to your gift-giving experience. By following the simple steps outlined in this guide, you can create charming paper bags that are sure to impress recipients while also contributing to sustainability efforts. So, the next time you have a gift to give, consider making your paper bag and infusing it with love and creativity. Happy crafting!
FAQs:
A: It’s best to use sturdy white craft paper or cardstock for durability and stability.
A: Get creative with ribbons, stickers, stamps, or markers to add personalized touches.
A: Yes, making your paper bags reduces reliance on commercially produced bags, contributing to environmental sustainability.
A: A typical size is around 8 inches in height and 6 inches in width, but you can adjust dimensions to fit your needs.
A: Use double-sided tape or glue along the edges to ensure a secure hold.
A: Yes, they’re often more cost-effective than store-bought bags, as you can utilize materials you already have.